

Introduction
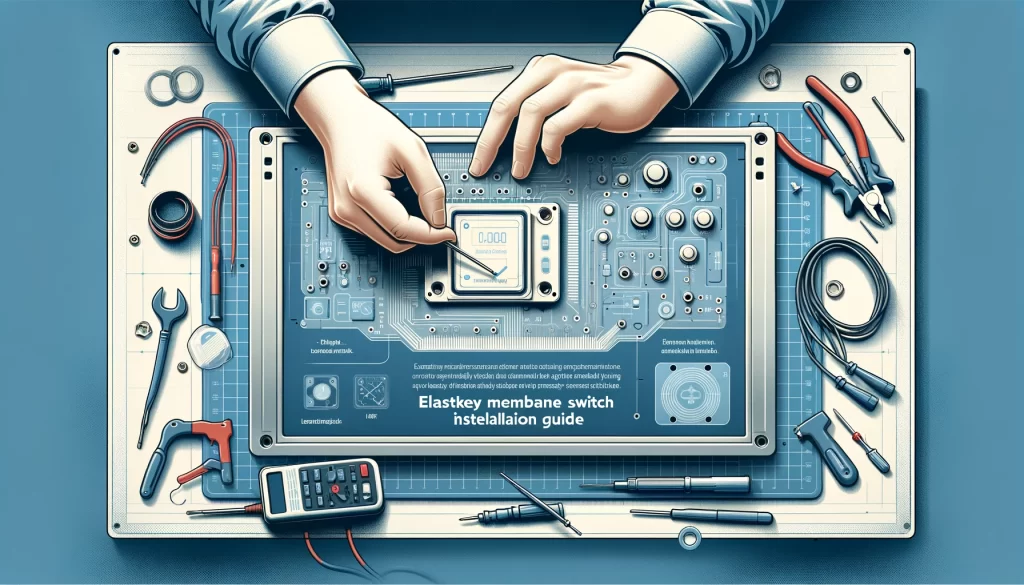
This guide provides step-by-step instructions for installing ElastoKey membrane switches. Before beginning, ensure you have the right model for your application and the necessary tools for installation.
Tools Required
- Clean, lint-free cloth
- Isopropyl alcohol or similar cleaning agent
- Small flathead screwdriver
- Precision tweezers
- Multimeter (for electrical testing)
Safety Precautions
- Ensure the power supply to the device or system where the switch will be installed is turned off.
- Work in a clean, dust-free environment to avoid contamination of the adhesive surfaces.
- Handle the membrane switch carefully to avoid damaging the circuit.
Installation Steps
- Preparation of the Surface
- Clean the surface where the membrane switch will be mounted. Use a cloth dampened with isopropyl alcohol to remove any dust, oil, or contaminants.
- Allow the surface to dry completely.
- Positioning the Switch
- Carefully peel off the backing of the adhesive layer on the membrane switch. Avoid touching the adhesive with your fingers.
- Align the switch accurately with the designated area where it needs to be mounted. Use guides or markings if available.
- Applying the Switch
- Gently place the switch on the surface, starting from one edge and slowly laying it down to avoid air bubbles.
- Once in position, apply even pressure across the surface of the switch for secure adhesion.
- Connecting to the Circuit
- If the switch needs to be connected to a circuit, carefully insert the tail connector into its corresponding slot or connector in the device.
- Use a flathead screwdriver to secure any connectors if necessary.
- Testing the Installation
- Once installed, it’s important to test the functionality of the switch. Use a multimeter to check for proper electrical connectivity.
- Test all the keys or buttons to ensure they are responsive and functioning as expected.
- Final Checks
- Inspect the installation for any loose edges or corners. Press down to secure if needed.
- Ensure the switch is flat and there are no ripples or air pockets.
Troubleshooting
- If a button is not responding, check the connection of the tail connector and ensure it’s properly seated.
- For adhesive issues, apply additional pressure or use a small amount of adhesive promoter if necessary.
Conclusion Your ElastoKey membrane switch should now be successfully installed and operational. For further assistance or technical support, please contact ElastoKey’s customer service.