Introduction
Microwave ovens are a convenient and ubiquitous kitchen appliance, but over time, their membrane switches may need to be replaced. This guide provides a step-by-step approach to replacing membrane switches in microwave ovens, ensuring that even those with minimal technical experience can safely and effectively perform the replacement.
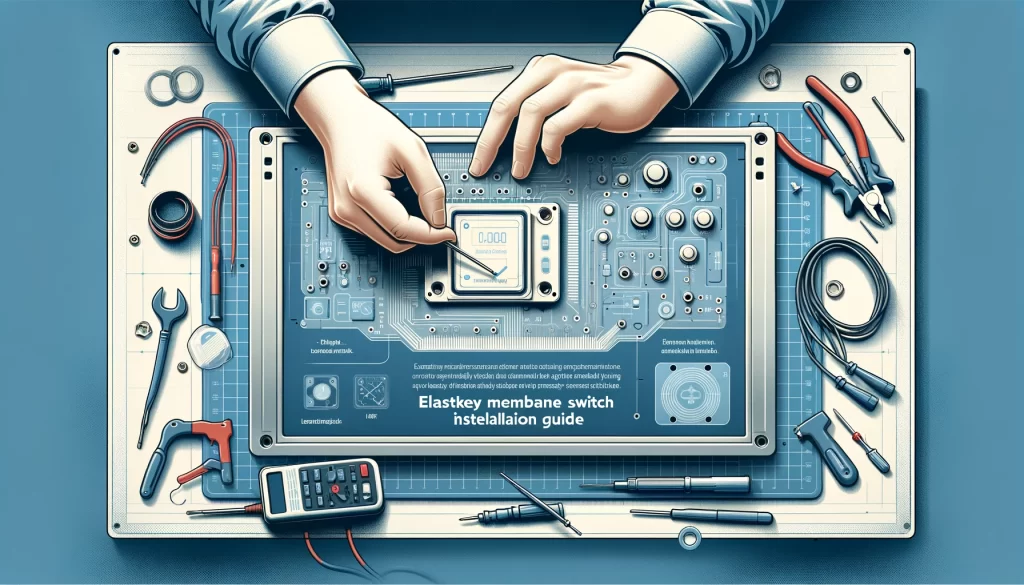
Tools and Materials Needed
- Replacement membrane switch
- Screwdrivers (Phillips and flathead)
- Needle-nose pliers
- A soft cloth
- Isopropyl alcohol (for cleaning)
Step-by-Step Replacement Process
Step 1: Safety Precautions
- Unplug the microwave oven from the power source to ensure safety.
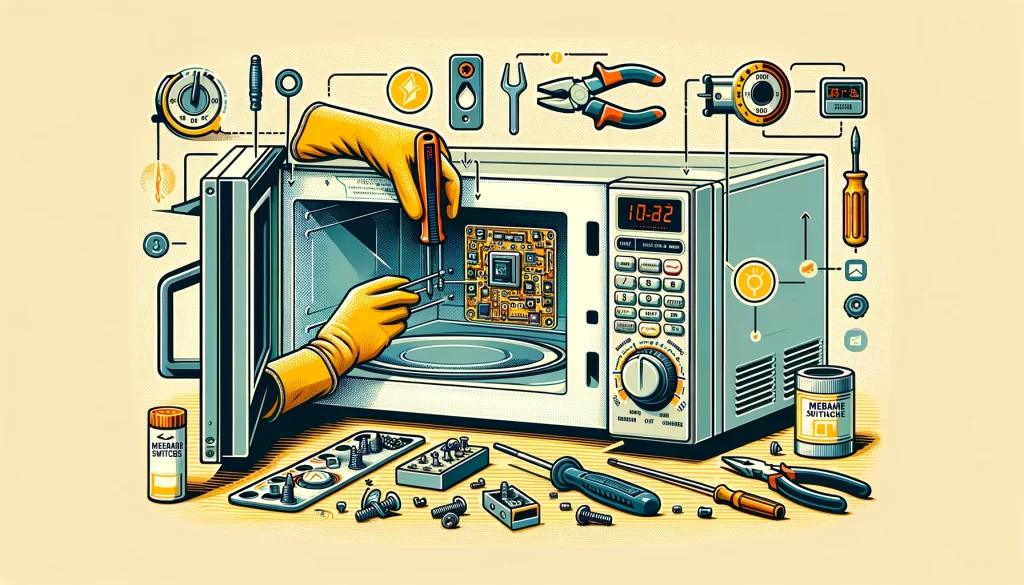
Step 2: Accessing the Membrane Switch
- Remove the outer casing of the microwave using the screwdrivers. This usually involves unscrewing the back or side panels.
Step 3: Removing the Old Membrane Switch
- Once the casing is off, locate the membrane switch and gently disconnect it from its position. This might require carefully removing any connected ribbon cables or connectors.
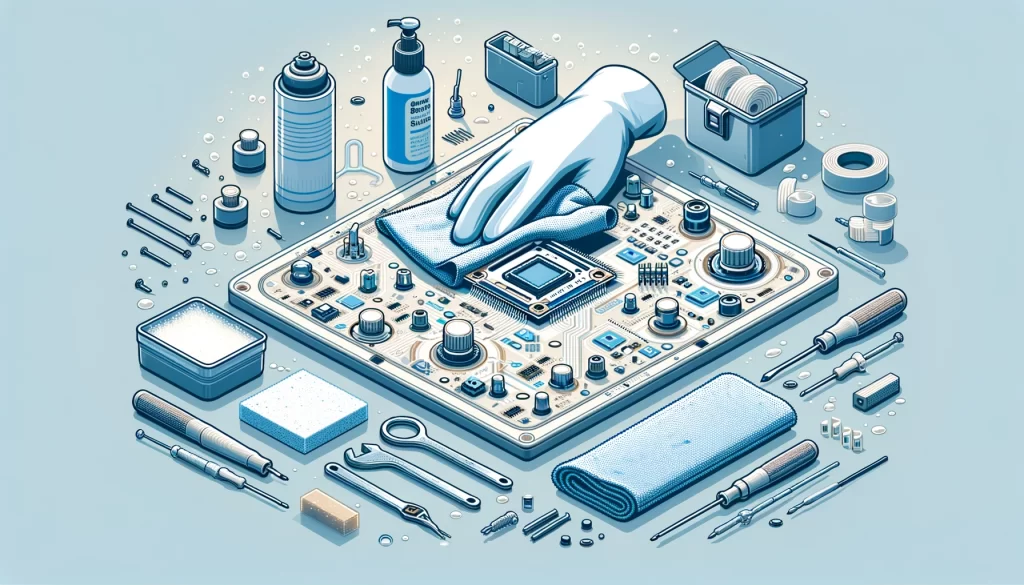
Step 4: Cleaning the Area
- Use a soft cloth and isopropyl alcohol to clean the area where the new switch will be placed.
Step 5: Installing the New Membrane Switch
- Position the new membrane switch in place and connect any cables or connectors that were disconnected.
- Ensure that the switch is seated correctly and securely.
Step 6: Reassembling the Microwave
- Once the new switch is in place, reassemble the microwave casing by screwing the panels back in place.
Step 7: Testing the Microwave
- After reassembly, plug in the microwave and test the new switch to ensure it is functioning correctly.
Conclusion
Replacing a membrane switch in a microwave oven can be a straightforward process with the right tools and a careful approach. By following these steps, you can ensure that your microwave continues to function effectively, saving the cost of professional repair or replacement of the appliance.